Drainage Behind The Wall
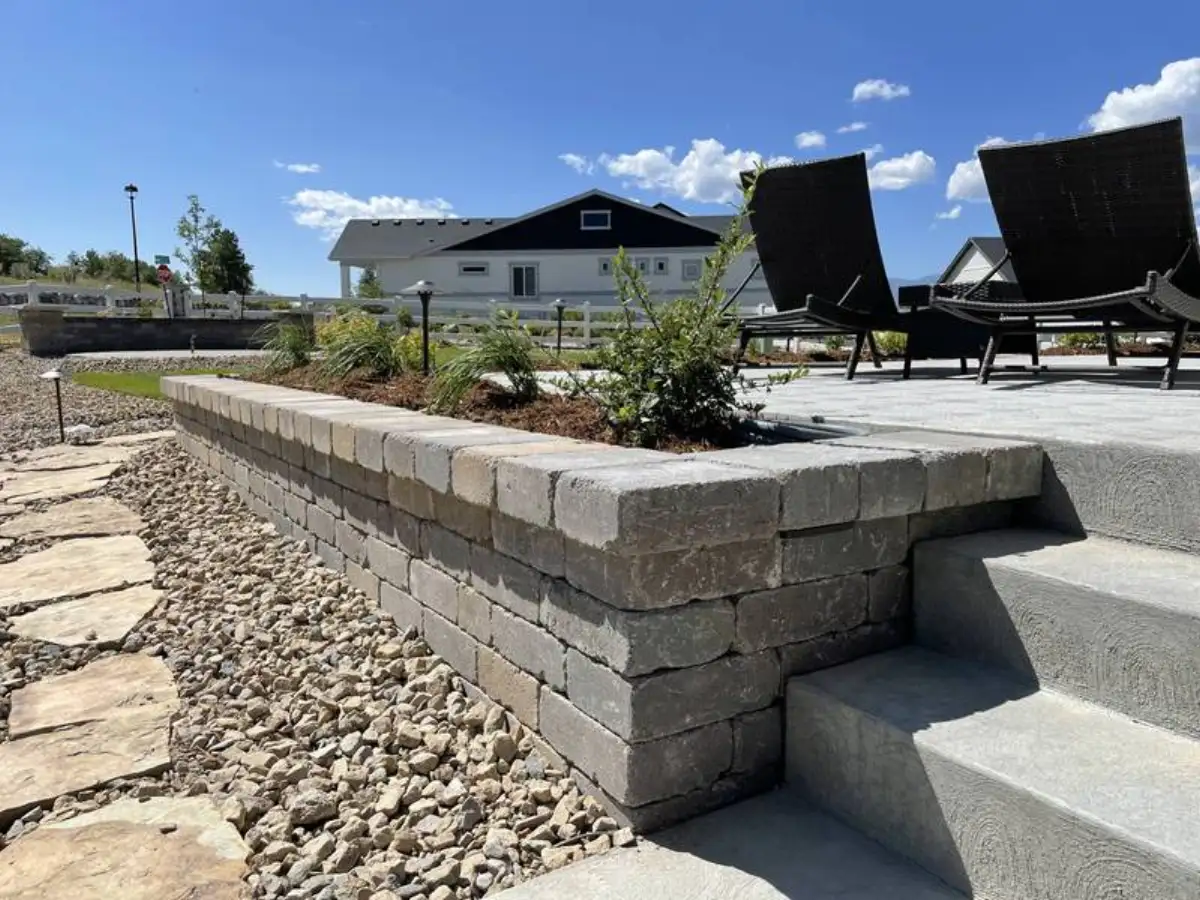
Water is one of the biggest reasons retaining walls fail or lean over time. Drainage stone, fabric, pipe, outlets, and surface grading all deserve attention before construction. Cedar Ridge Outdoor Living discusses where water will go after it reaches the wall and how roof runoff or neighboring grades may add pressure. A wall that looks attractive but traps water is not a finished solution.
- Site conditions reviewed
- Scope explained clearly
- Photos and measurements encouraged
- Phasing discussed when useful
Material Choices And Site Access
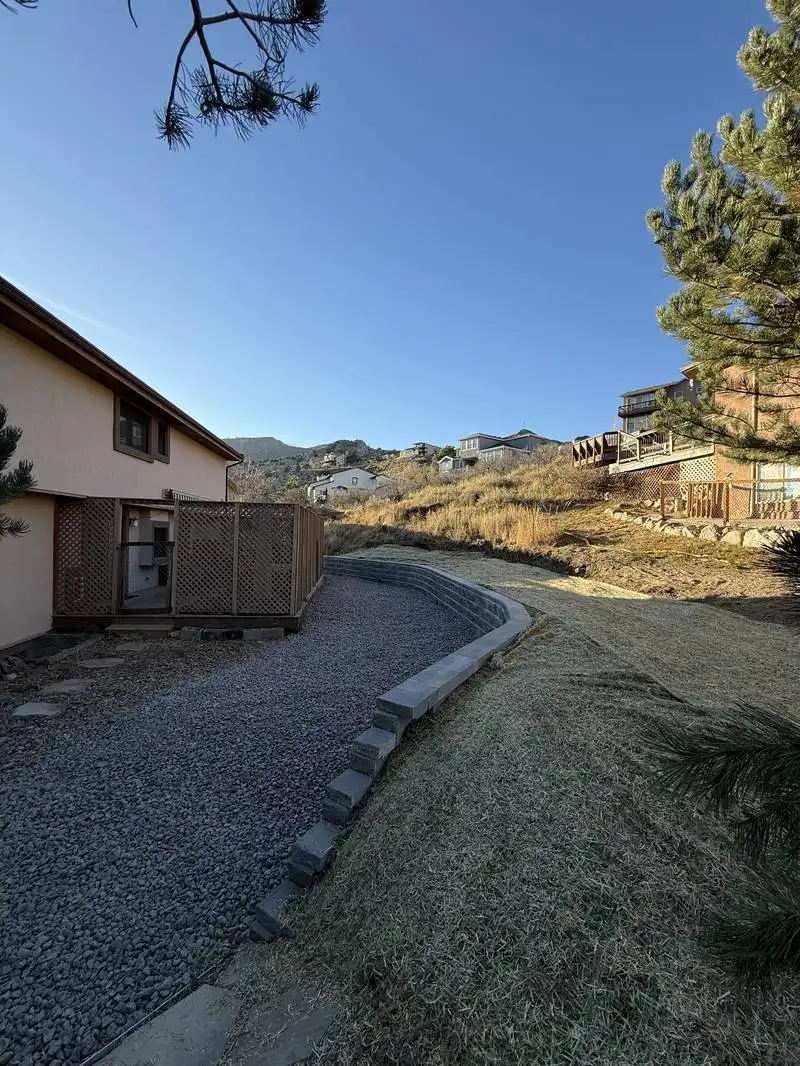
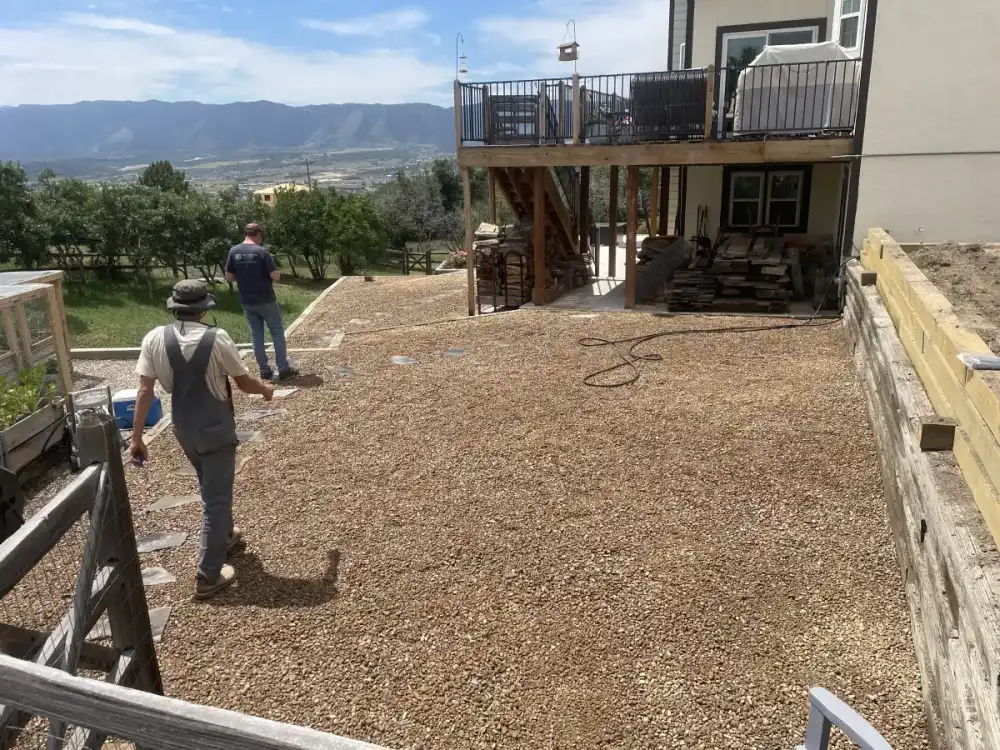
Material selection depends on height, purpose, budget, appearance, and access. Segmental wall block, cap details, steps, curves, and tie-ins each affect cost and installation. Tight gates, steep side yards, existing fences, irrigation, or limited staging space can change how equipment and materials reach the work area. Those access details should be part of the scope instead of a surprise on installation day.
- Site conditions reviewed
- Scope explained clearly
- Photos and measurements encouraged
- Phasing discussed when useful
Estimate Details That Matter
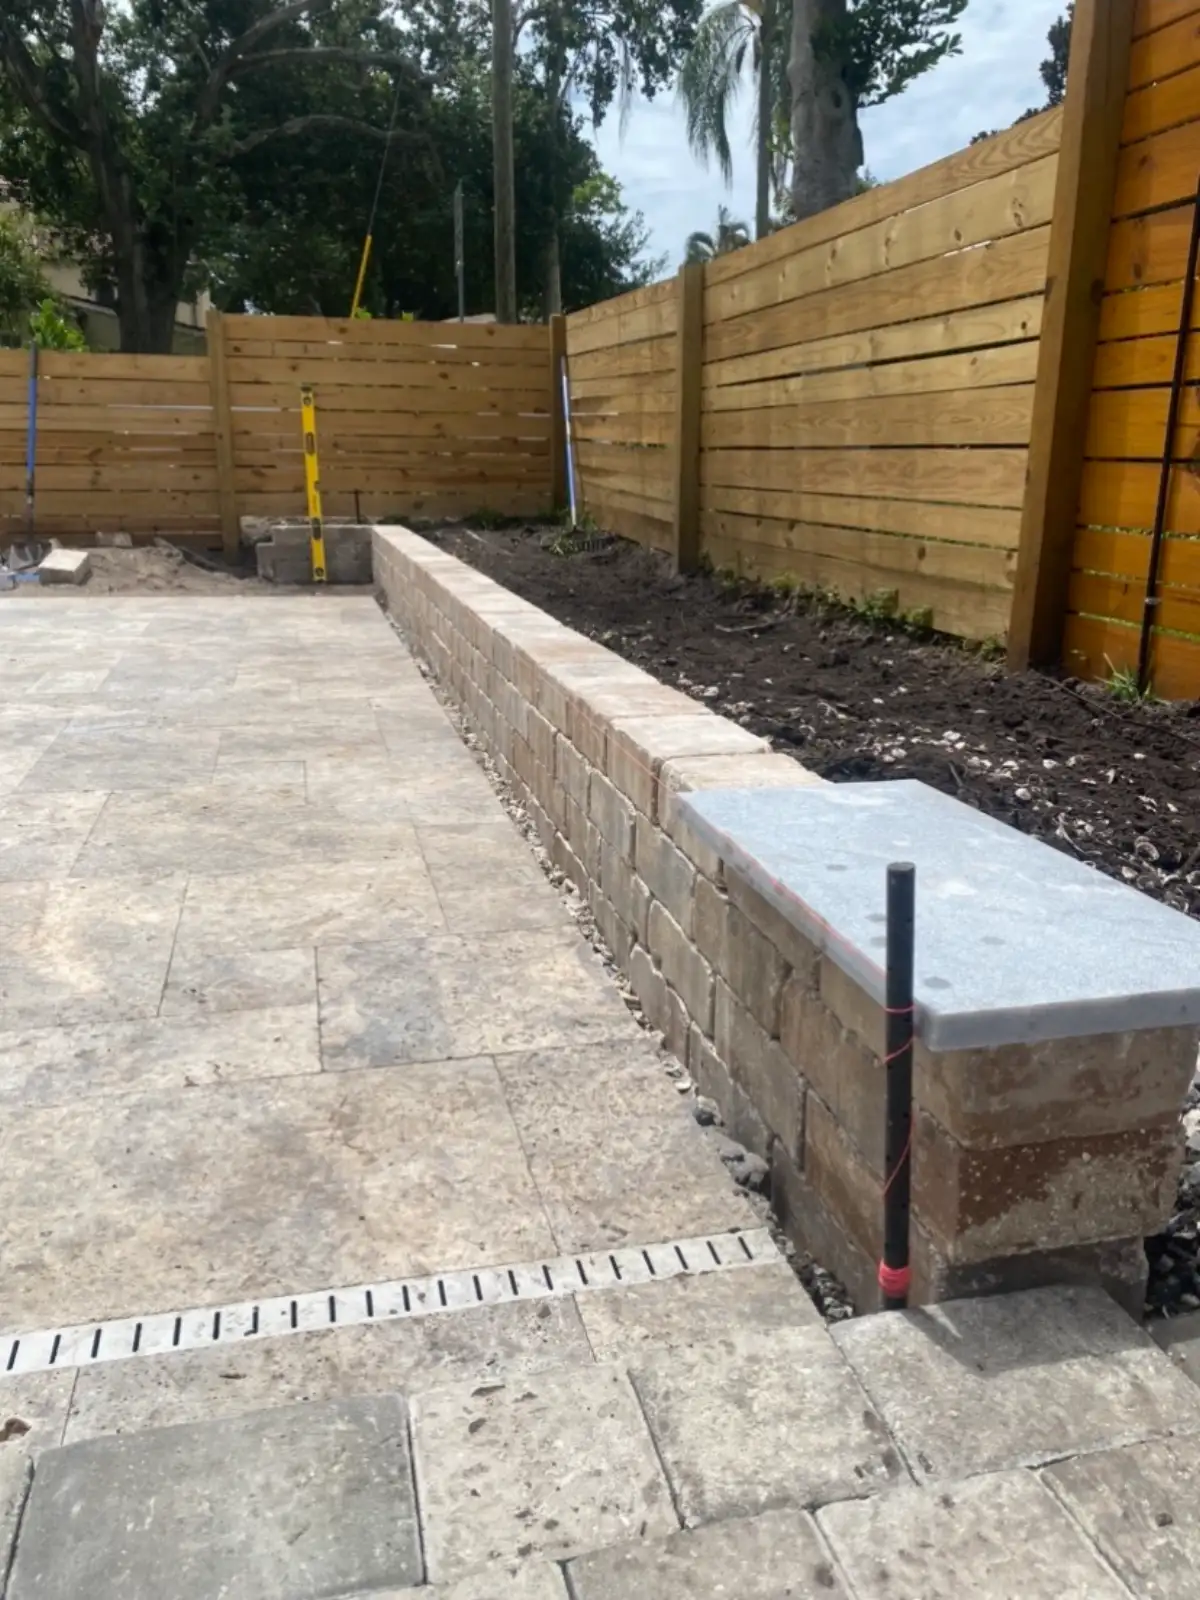
A clear retaining wall estimate should describe the wall length, approximate height, excavation, base preparation, drainage assumptions, block or cap style, access needs, removal work, and any related patio or landscape repair. If engineering or permits become relevant for a taller or more complex wall, the homeowner should know early. Cedar Ridge Outdoor Living keeps the conversation practical and tied to the real yard conditions.
- Site conditions reviewed
- Scope explained clearly
- Photos and measurements encouraged
- Phasing discussed when useful
When A Wall Should Come Before Pavers
A wall often needs to be built before a patio because the patio depends on stable grade. Installing pavers first can limit access, increase rework, or leave the edge unsupported. When both services are planned together, the team can coordinate wall elevation, patio slope, steps, drainage, and lighting routes in the right order. That makes the finished outdoor space feel intentional rather than patched together.
Care After The Wall Is Built
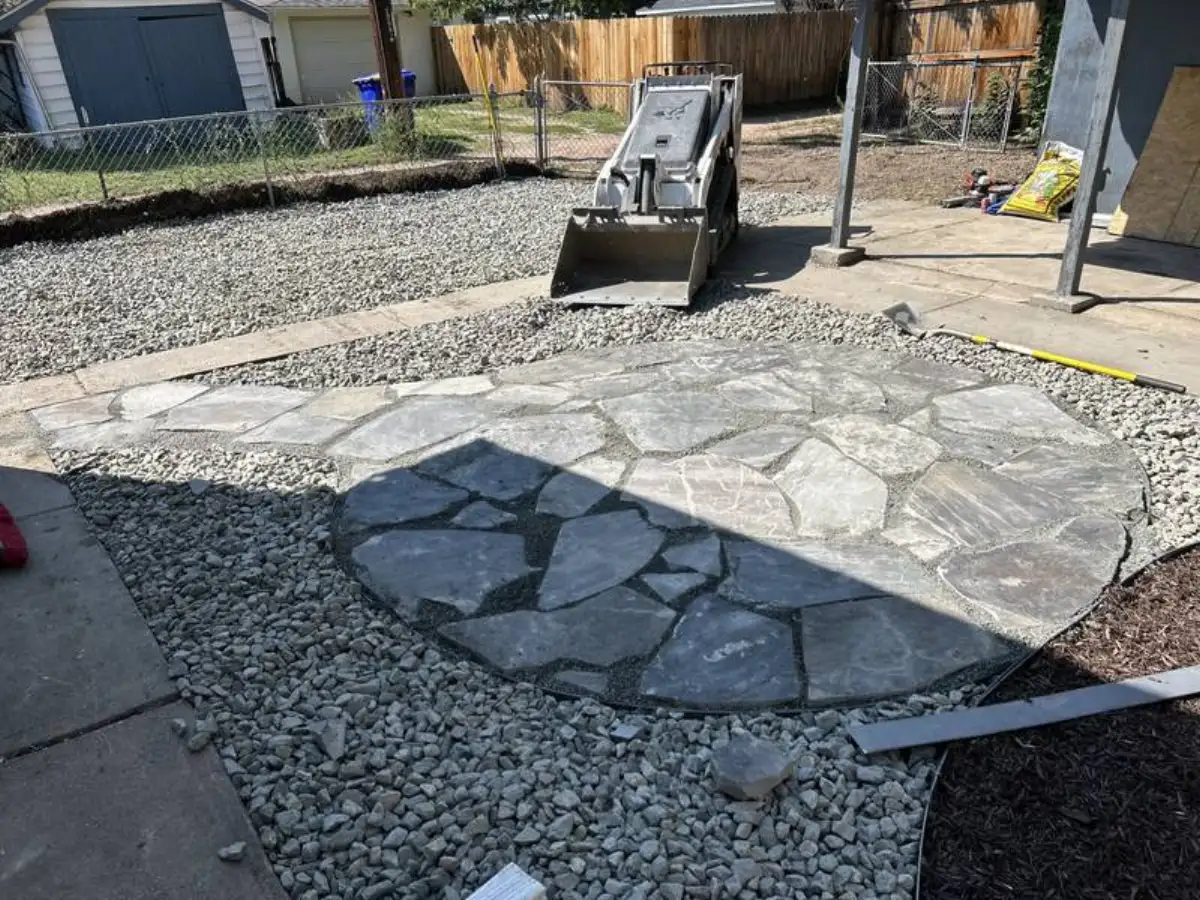
After a retaining wall is complete, homeowners should keep an eye on water discharge, soil buildup, downspouts, and plant roots near the wall. Normal settling around disturbed areas can happen, but ongoing bulging, erosion, or water stains should be discussed quickly. Good upkeep starts with knowing how the wall was designed to drain and what conditions could overload it.
- Site conditions reviewed
- Scope explained clearly
- Photos and measurements encouraged
- Phasing discussed when useful
When A Wall Is More Than A Decorative Edge
A retaining wall can create a clean patio edge, but its real job may be controlling grade, protecting a slope, or making a backyard usable. Cedar Ridge Outdoor Living reviews whether the wall is holding back soil, dividing levels, supporting a future patio, or simply defining a bed. That distinction matters because a decorative edge and a grade-support wall should not be scoped the same way. Wall height, soil pressure, drainage stone, outlet locations, base preparation, access for material, and how the wall meets steps or pavers can all change the work. A clear estimate should explain those conditions in plain language so the homeowner understands what is structural planning and what is finish choice.
- Wall purpose and height
- Backfill and drainage path
- Tie-in to patios or steps
- Access for block and base material
How Wall Planning Protects Nearby Hardscape
Retaining walls often affect more than the spot where the blocks are placed. A wall can change the elevation of a paver patio, redirect surface water, define where a grill or table fits, and determine whether a future lighting route stays accessible. If a patio is planned without reviewing the slope around it, the finished surface may need extra steps, awkward transitions, or later correction. If the wall is planned first, the patio can be sized and pitched around a more stable edge. That order is especially helpful when a Wichita-area yard has settled soil, old concrete, downspouts at the corner of the house, or a side-yard access route that limits equipment movement.
- Patio elevation control
- Runoff away from wall base
- Step and cap coordination
- Lighting route protection
What To Share Before A Wall Visit
Useful wall photos show the slope from the side, the area above and below the proposed wall, any nearby patio or fence line, and what happens after rain. If the wall is replacing timbers, failing block, or an informal landscape edge, mention that history. Those details help Cedar Ridge Outdoor Living decide whether the conversation should focus on replacement, grade correction, drainage, or a patio-ready wall layout.
- Slope photos from both ends
- Existing wall or timber condition
- Water marks after storms
- Nearby patio or fence tie-ins